
Once the chair was stripped and ready to go, i got to work, getting to calico on the arms and back very quickly as i was able to use some more modern techniques and time saving materials like rubberised hair.
Here is how the chair has progressed so far.
1. I think you call this hessian band webbing (I am, as ever, oblivious to the correct 'professional' terms for things - I took up golf a few years ago now and I still refer to my golf clubs as stick, poles or rods!) but i prefer to refer to it as 'strapping'. 'Strapping' was the first stage, with 3 running vertically down each arm and the back of the chair. The straps support the frame, the subsequent layers, and eventually, me, when I get to sit in the finished chair!

This stage is quite tricky and takes time and lots of hammered fingers to try and get the correct tension in the straps.


2. Next comes the hessian. This is almost like the first layer of bread, with the final material being the other piece, that the other materials (horse hair, wadding and lots of sewing!) will be sandwiched between.


Again, the hessian needs to be as taut as possible.


3. Once the hessian has been tacked in place and 'hammered home', and trimmed, the rubberised hair is pinned into place with enormous pins...

...before being sewn into place and trimmed down to size. The rubberised hair is a massive time saver, as i didn't have to sew and then stuff loose horse hair into place. This stage can take a long time as it is difficult to get the loose horse hair to the same level across the piece as lumps and bumps are inevitable. The rubberised hair saves you from having to deal with this problem as well as ensuring you have a nice springy stuffing.

4. After applying a layer of wadding, I cut and tacked the calico into place. I then pinned the 3 sections of calico (2 x arms and 1 x back) together at the joins...

...before sewing them together with ladder stitch.

I then re-stretched the calico and finally hammered all the tacks home finishing up the calico stage of the chair back.
With the back complete to calico, i am going to start on the seat of the chair. This will take a bit longer than the back as i wont be able to cheat with modern techniques this time. I will also be dealing with springs, which is something new for me, but i have seen from my classmates that they can be troublesome and time consuming. Still, it will be great to learn something new as i have really enjoyed learning some of the modern techniques after two years of traditional ones on my bed.
It is probably time to start looking for fabric!




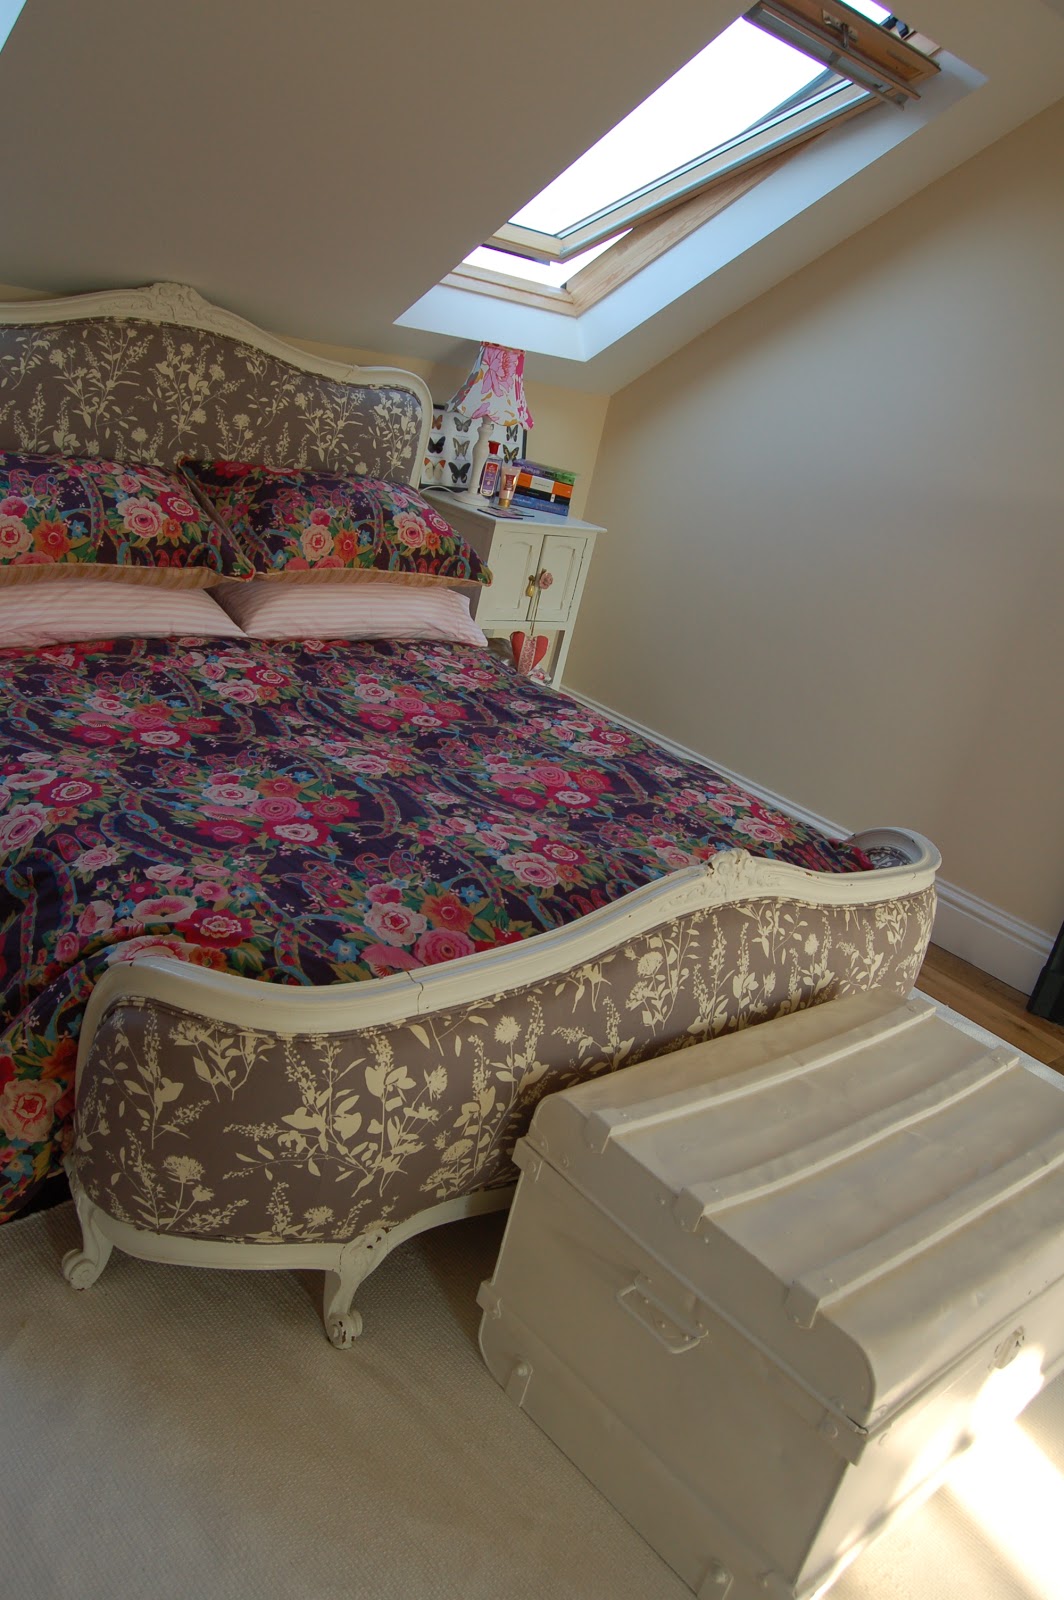
 . They reason that you probably have a few pieces that you really love and it should be these pieces that you decorate around and in the end you should get 'your look', and it will probably end up being something quite personal and even better, it doesn't have to be expensive. I think our bedroom is a brilliant example. It wont by any means be to everyone's taste. But it is perfect to me. The assault of prints, pattern and colour on the eye make it everything i love. For a long time, i kept getting stuck, for example i painted that wall lavender just because i loved the colour without really thinking about the other items and features in the room. The book's strap line - 'a room-by-room guide to creating a home that makes you happy' says it all really.


 series by
  is just brilliant for a bit of escapism, and to be fair, i started reading them when i was a 'young adult' and it has taken her a long ol' time to bring out the latest installments. As they aren't the easiest books to get a hold of in London (she is an Aussie author) i stocked up on the whole series while i was at home to refresh my memory and find out what happens next. No spoilers here! But so far the whole series, including
 , has been a thoroughly enjoyable read and now i am eagerly awaiting the final installation due out late this year.

 . Now i haven't seen this movie yet, but it has been on my 'must watch' list for a long time, having been a huge fan of
  and
and  (big thanks to Miss Alecia for introducing me to these!), other animated films from Studio Ghibli. It turns out Diana Wynne Jones shared my fondness for teenage fantasy, only instead of just reading them, she wrote them, having been schooled by CS Lewis and Tolkein. She was a prolific writer. I have decided to start with Howl and hopefully move on to some more of her celebrated novels. You can read the article i found
  on
on  , focusing on the somewhat uncomfortable relationship she had with work and the competing pull she felt towards the, somewhat anti-feminist, domestic arts. The book goes on to celebrate everything in the 'domestic space'. Flicking through, this book is beautiful (the edition with the pretty cover in my photo above is out of print, but i managed to get a hold of a copy through Oxfam). She takes you through colours, textures, baking, embroidery, quilting, photography, her garden and more; it is a smattering of everything 'domestic'. Its isn't a 'how to' book, although it does include a few recipes. I think it is more an item of inspiration itself. It enthuses me to get my sewing machine out, turn the oven on, and decorate my home with colour, warmth and love. Corny? Maybe, but i think she has the right idea.
  , of the same name, is teaching me to bake bread. My first attempt went completely wrong when i substituted regular bread flour for gluten free flour. The whole half kilo of dough ended up in the bin. Second time around and actually using the listed ingredients, i baked a delicious rosemary focaccia! I also successfully made the Whoopee Cakes first time round. She gives actual tips, like throw ice in the bottom of the oven when you are baking bread (don't ask me why - read the book or watch the series!). Aside from the fact i nearly vomited when i read she was 39 years old (do you need me to hold your hair back for you?), she is just lovely. I love that she has tried so many professions, all in the pursuit of finding the perfect one for her. From what i have read, she has worked very hard to be successful in the culinary world and i am glad she is sharing her baking knowledge with me.
