Showing posts with label upholstery. Show all posts

Sunday, 30 October 2011

The drop seats continue


I have finished the first drop seat to calico! Yay! Here is it is in situ. My friend still needs to pick her fabric and then i will finish it off by covering in that, but the calico will do till then. I quite like it plain. So how did it get to this stage? Well here is where we left off. 


I had finished the webbing and filled the wooden frame.


The underside of the frame.


I covered the webbing in hessian.


Then i sewed the rubberised horsehair in place...


before covering with wadding...


and finally stretching the calico over the lot.


Trimmed and neatened.


And back where it should be!

Sunday, 28 August 2011

Patchwork upholstery

Cath Kidston vintage find in the Brighton shop

Cath Kidston has been giving me ideas...again! I think i want to cover my little arm chair in a patchwork like this. I think it looks amazing.

I had better get sewing.

Friday, 26 August 2011

More upholstery - drop seats

The summer holidays feel like they have stretched on for eons because I didn't enrol in Upholstery summer school early enough to get a spot this year. But, before I finished up the last term, I began stripping and upholstering the first of four vintage drop seats for a neighbour.  
Old, dusty, brown covers = yuck.


The stripping process was fairly grim, the frame was crammed full of tacks (which are fine) and staples (which AREN'T!)

The frames were in pretty bad shape, so i had a lot of filling to do. 


Strapping (aka webbing) the base. 


All ready for the new school year and a bit of rubberised hair! 

It has been fun learning how to upholster two different types of chairs at the same time. Expect an update soon!

Monday, 20 June 2011

Upholstery update: The loft chair

It has been a while since the last upholstery update. When i last wrote, i had just finished my bed, and was starting on a lovely little arm chair i found in our loft.


Once the chair was stripped and ready to go, i got to work, getting to calico on the arms and back very quickly as i was able to use some more modern techniques and time saving materials like rubberised hair.

Here is how the chair has progressed so far.

1. I think you call this hessian band webbing (I am, as ever, oblivious to the correct 'professional' terms for things - I took up golf a few years ago now and I still refer to my golf clubs as stick, poles or rods!)  but i prefer to refer to it as 'strapping'. 'Strapping' was the first stage, with 3 running vertically down each arm and the back of the chair. The straps support the frame, the subsequent layers, and eventually, me, when I get to sit in the finished chair!


This stage is quite tricky and takes time and lots of hammered fingers to try and get the correct tension in the straps. 


2. Next comes the hessian. This is almost like the first layer of bread, with the final material being the other piece, that the other materials (horse hair, wadding and lots of sewing!) will be sandwiched between.


Again, the hessian needs to be as taut as possible.


3. Once the hessian has been tacked in place and 'hammered home', and trimmed, the rubberised hair is pinned into place with enormous pins...


...before being sewn into place and trimmed down to size. The rubberised hair is a massive time saver, as i didn't have to sew and then stuff loose horse hair into place. This stage can take a long time as it is difficult to get the loose horse hair to the same level across the piece as lumps and bumps are inevitable. The rubberised hair saves you from having to deal with this problem as well as ensuring you have a nice springy stuffing. 


4. After applying a layer of wadding, I cut and tacked the calico into place. I then pinned the 3 sections of calico (2 x arms and 1 x back) together at the joins...    


...before sewing them together with ladder stitch.


I then re-stretched the calico and finally hammered all the tacks home finishing up the calico stage of the chair back.

With the back complete to calico, i am going to start on the seat of the chair. This will take a bit longer than the back as i wont be able to cheat with modern techniques this time. I will also be dealing with springs, which is something new for me, but i have seen from my classmates that they can be troublesome and time consuming. Still, it will be great to learn something new as i have really enjoyed learning some of the modern techniques after two years of traditional ones on my bed. 

It is probably time to start looking for fabric!

Tuesday, 19 April 2011

Our fantastic fireplace and the domino effect

I know i have written about our loft bedroom fireplace before, but we have just completed some work on it recently that i wanted to share - it is finally 'finished'. After over a year of umming and ahhing we finally bit the bullet and sprayed the fireplace and its wooden backing frame with a matt black stove paint.


I think it looks amazing. We were both so scared that we wouldn't like the effect, having grown so fond of the raw iron look, however it has turned out brilliantly. The sharper shade of black shows of the tiles even better than before. The whole structure looks uniform all of a sudden, i don't why it took us to long to decide to do it now - but i suppose everything is always clearer in hindsight.


What's more, we have grown tired of the 'white everywhere' look and have started splashing Farrow and Ball paint (I LOVE LOVE LOVE this paint!) on every surface we can find. Our bedroom walls are now sporting a very pretty shade of Ringwold Ground, a dusky cream, and the fireplace recess has been painted Calamine (my absolute favourite colour at the moment), a dusky pink to match. The lavender we had painted previously on the chimney breast was pretty, but it just wasn't the right colour for the room and didn't match our belongings (you can see it here). Where the lavender clashed, the new shades complement the curtains i made many moons ago for our old bedroom, but because i spent so long sewing them, there was no way i was leaving them behind when we moved upstairs (that said, i still need to hem the bottoms!). The cream wall with the pink feature echos the pink flowers on the yellowy cream background of the fabric.


Most of the fireplace tiles present this colour and pattern style too - with pink blooms in the lovely yellow glaze.


On top of this, the bedside table i painted with leftover paint matches perfectly, with James White (another Forrow and Ball paint, though this time in the eggshell finish - the rest has been painted using the estate emulsion that gives a matt finish) being used on the bed and the built in shelves. It even has the Calamine interior to match the fireplace recess.


Domino: The Book of Decorating: A Room-by-Room Guide to Creating a Home That Makes You HappyI used the curtains and of course THE bed to inform our colour choice. In the end, they acted as the first piece in the Domino effect - something i read about in a beautiful, inspiring and thoroughly accessible interior design book by the same name - Domino (eds Deborah Needleman, Sara Ruffin Costello, & Dara Caponigro). They reason that you probably have a few pieces that you really love and it should be these pieces that you decorate around and in the end you should get 'your look', and it will probably end up being something quite personal and even better, it doesn't have to be expensive. I think our bedroom is a brilliant example. It wont by any means be to everyone's taste. But it is perfect to me. The assault of prints, pattern and colour on the eye make it everything i love. For a long time, i kept getting stuck, for example i painted that wall lavender just because i loved the colour without really thinking about the other items and features in the room. The book's strap line - 'a room-by-room guide to creating a home that makes you happy' says it all really.


So, yes, i think it is all, finally, coming together. I think it takes time to know how to decorate a space, i think living in the loft as a large white canvas for the last 12 months has given us the chance to imagine and dream about what our bedroom could be. I'm a bit worried that it maybe has turned out a bit feminine for my husband, but the overruling motif of flowers is one that he appreciates in the garden, so i figure he cant object too much! I think, overall, the warm glow of the colours and preloved nature of most of the furniture gives the room a sense of character as well as being comfortable and inviting. I tell myself this in order to feel better about it taking well over a year to get out room looking complete!

Now, i just need to get back to the markets and salvage another bedside table, this time for my husband, because the thing he has at the moment just isn't cutting it!

Wednesday, 9 March 2011

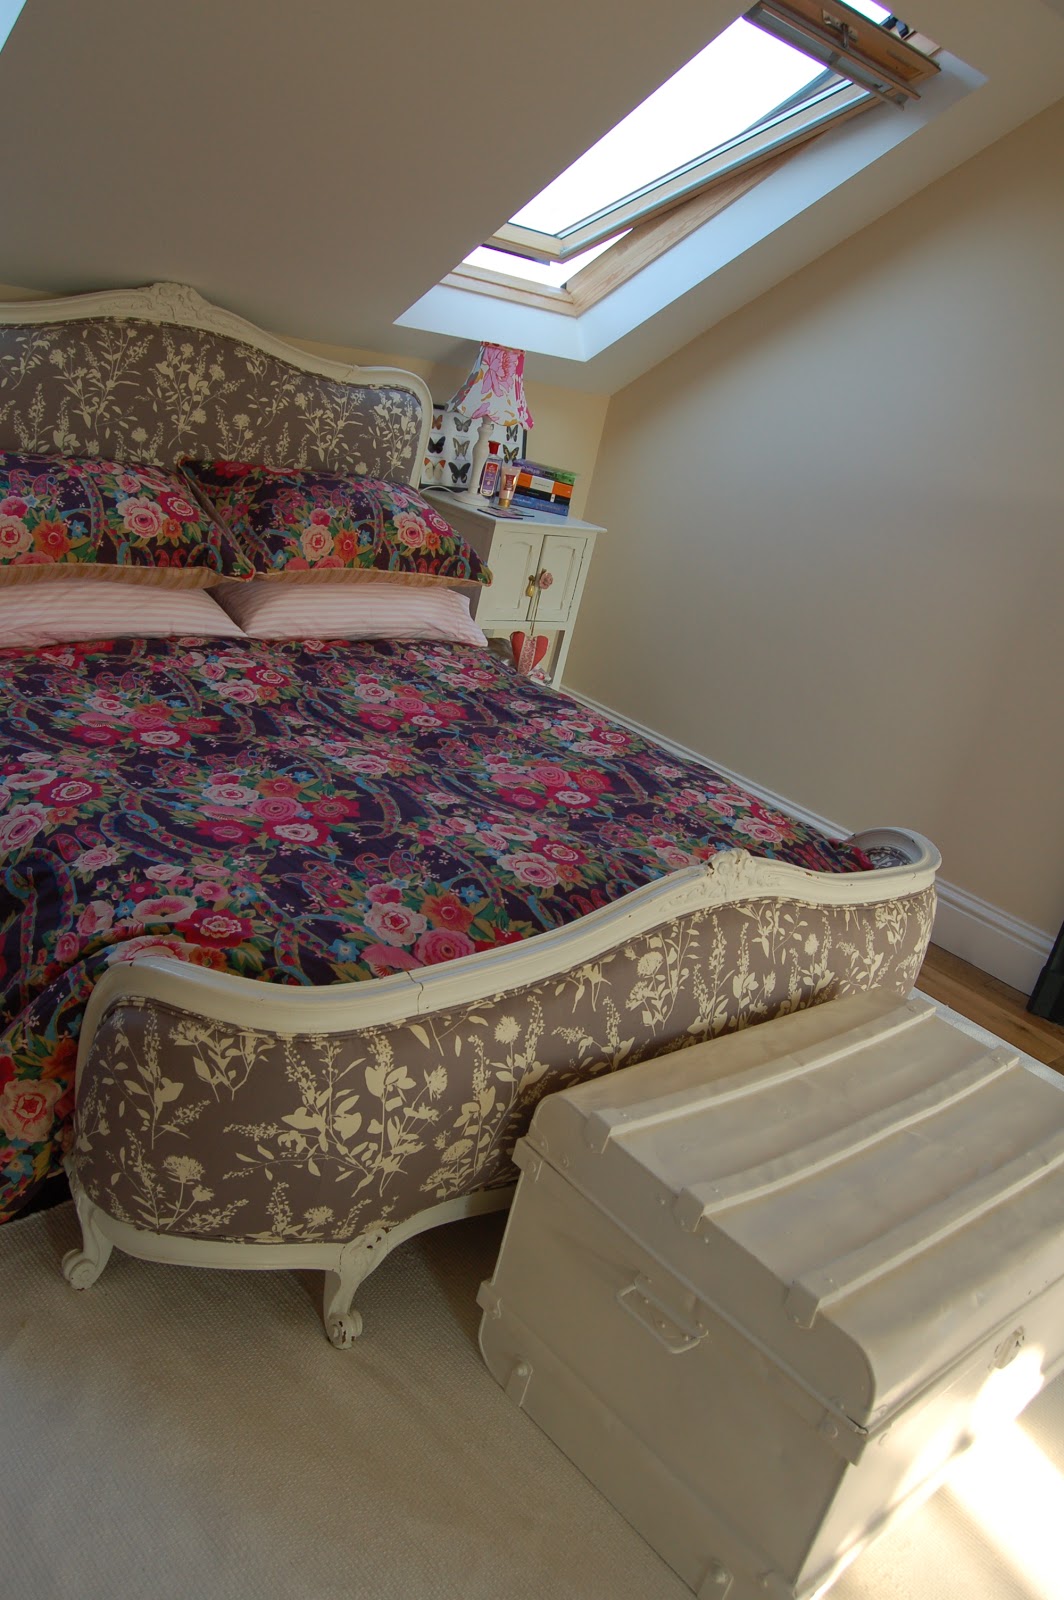
Upholstery update - The finished bed!


No, your eyes aren't deceiving you, it is true!

I have finally finished!

After a good 18 months, i finally hammered in the last tack, glued on my double piping and stood back to admire my handy work.

Although i was pleased to finish, at first, i felt as though i never wanted to look at it ever again, but my husband was so enthusiastic when i bought it home, having waited forever for it, that he put it together that night and his enthusiasm was catching - I LOVE it!

I have already been up to Cologne and Cotton and picked up some special sheets for when we get our new bespoke mattress, complete with curved corners.

I still have another to do yet, but i have decided it can wait while i have a break from french antique beds and work on a little bucket chair instead.


Keep checking in for the little chair's progress. Hopefully some of the bed upholstery skills translate and i can be sitting back reading a book on it before the year is through. Keep your fingers crossed for me!
Related Posts Plugin for WordPress, Blogger...